Table of Contents
Saros can integrate with the SVN Team support and needs to have access to the plugin when compiling and being executed. We are using version 1.6.x of the Subclipse plugin.
Procedure 3.1. Installation of Subclipse
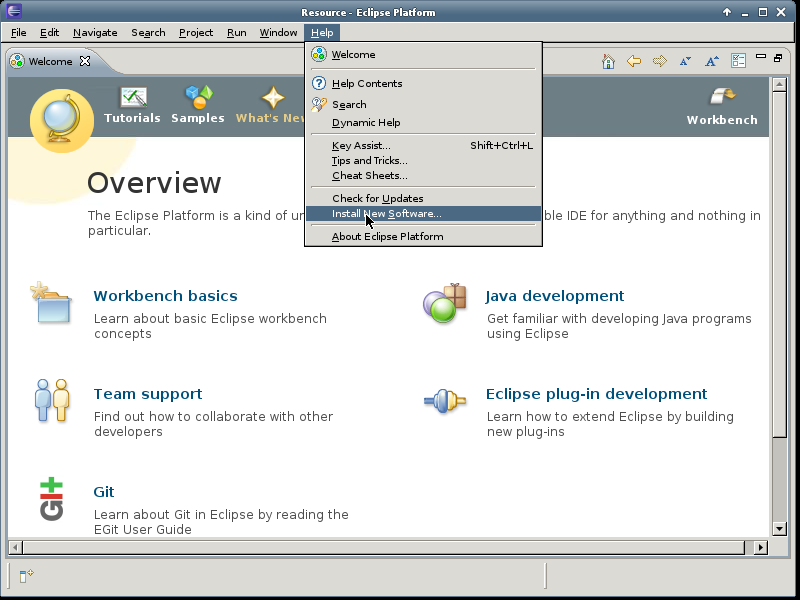
Open the New Software Dialog
→
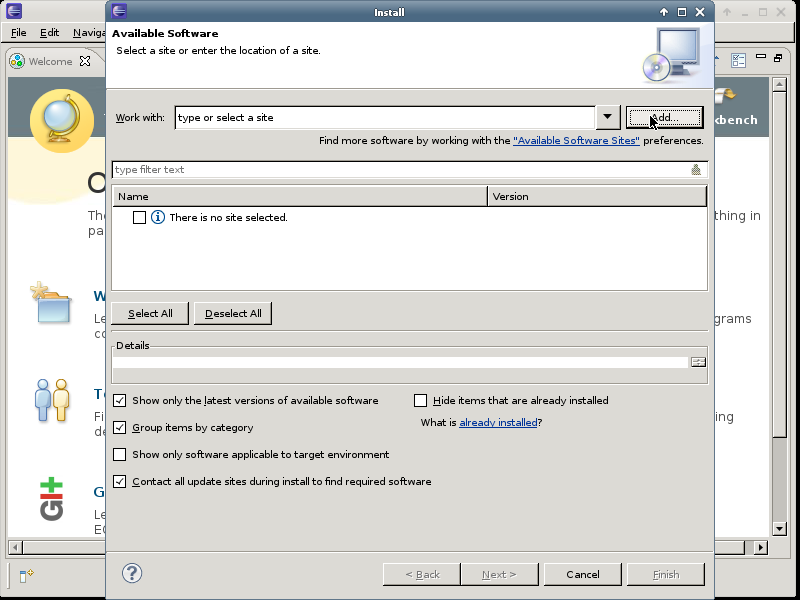
Press the Add Button to add a site
to add the site.
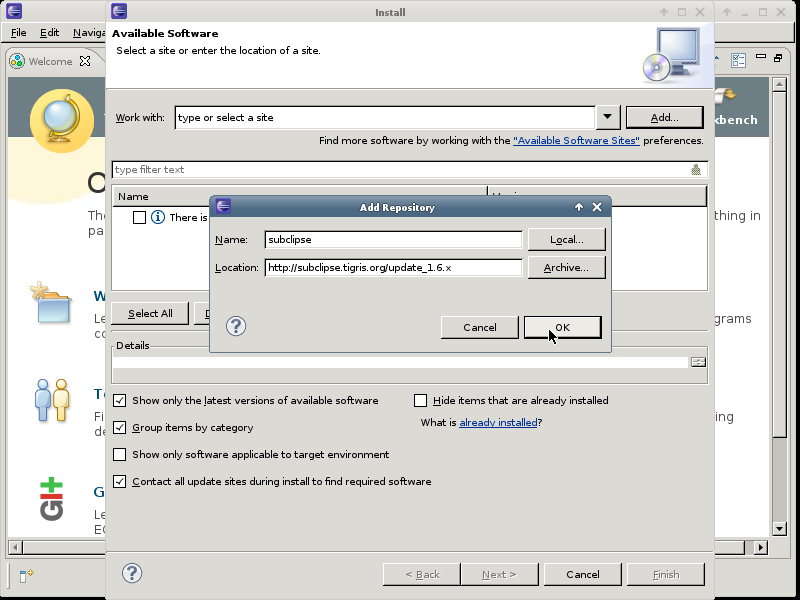
Add Subclipse repository
Pick a name for the Name field, enter the following http://subclipse.tigris.org/update_1.6.x into the Location field and press .
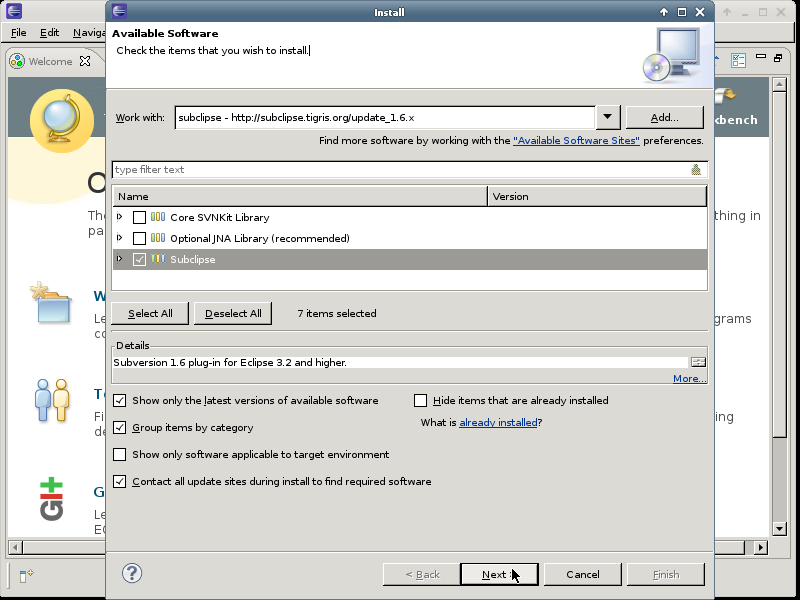
Select Subclipse
Select the Subclipse group and press .
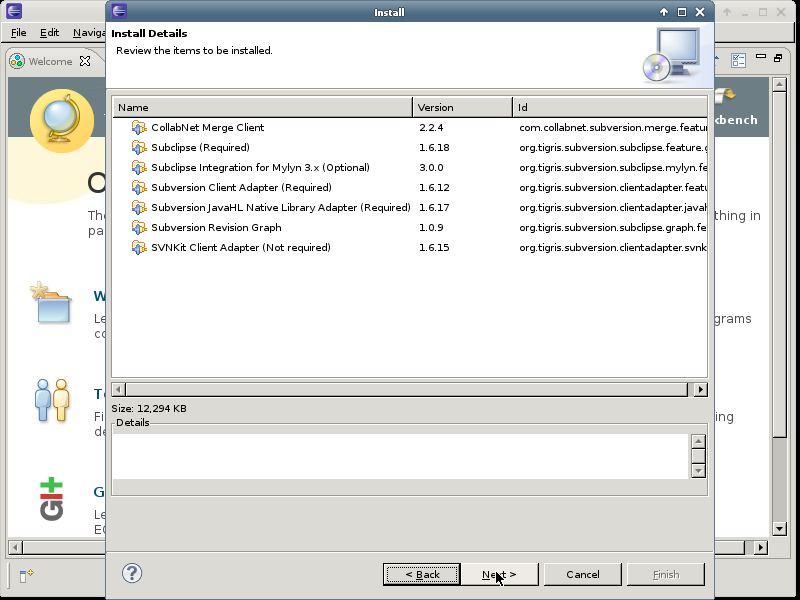
Review the Installation details
Review the installation details and continue by pressing .
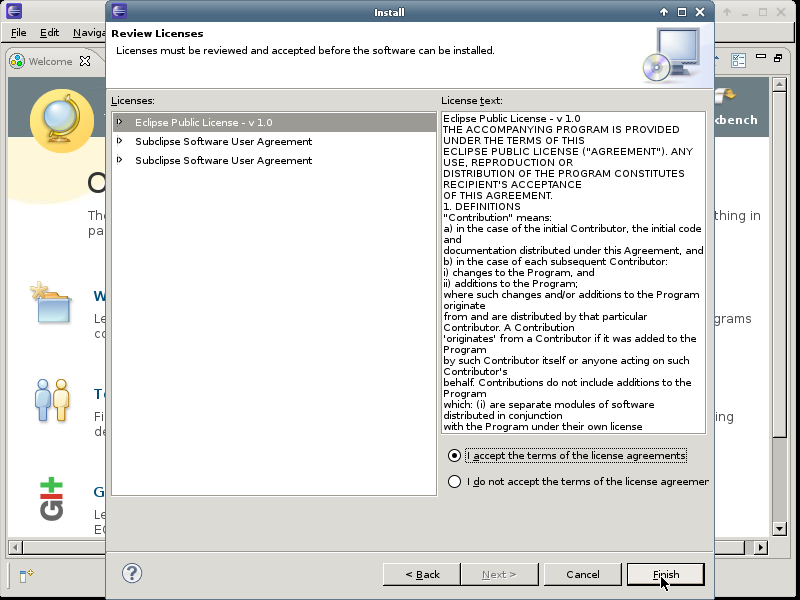
Accept Licenses
Review and accept the license and continue by pressing . This will start the installation
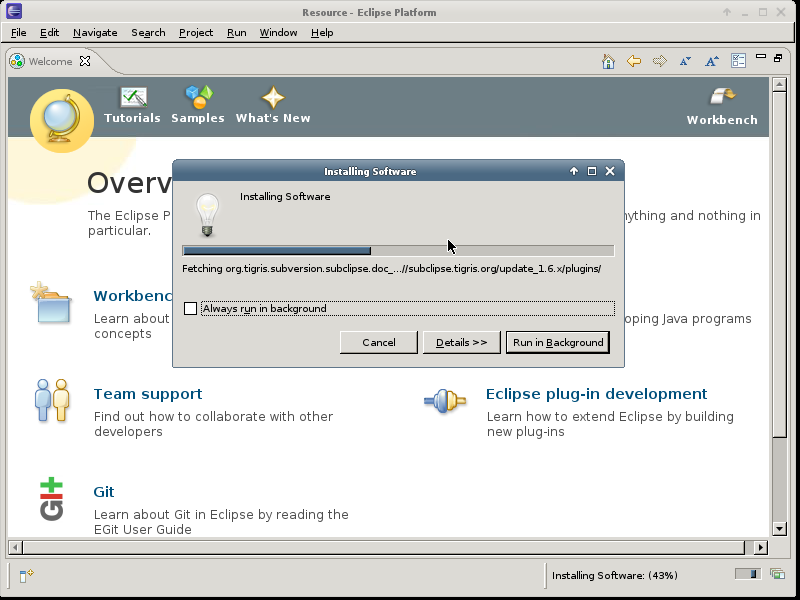
Installation Process
You will be presented the progress of the installation
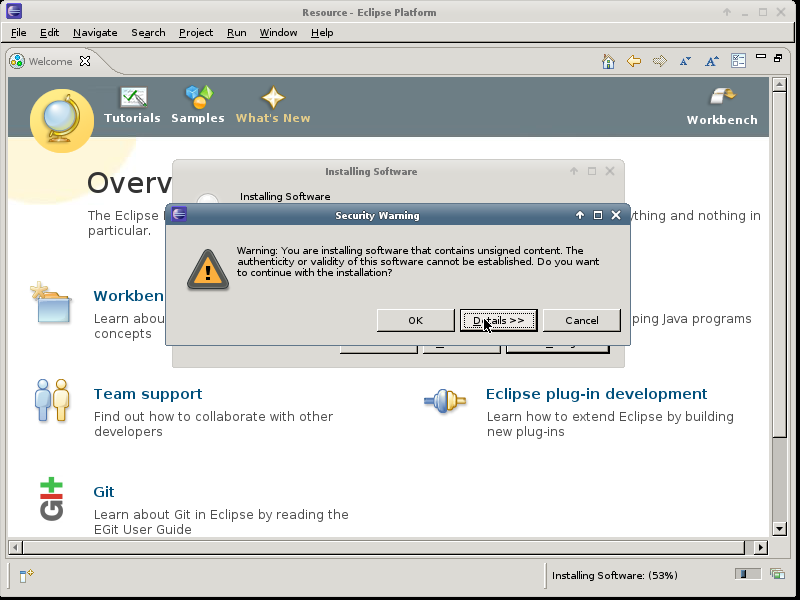
Unsigned packages
The packages are not cryptographically signed, nothing we can change right now.
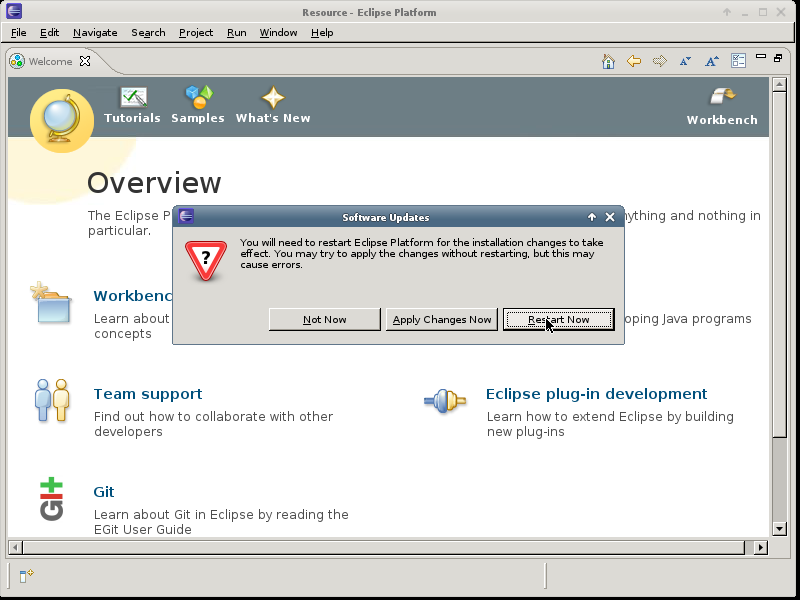
Restart Eclipse
You will be asked to restart Eclipse at the end of the installation.
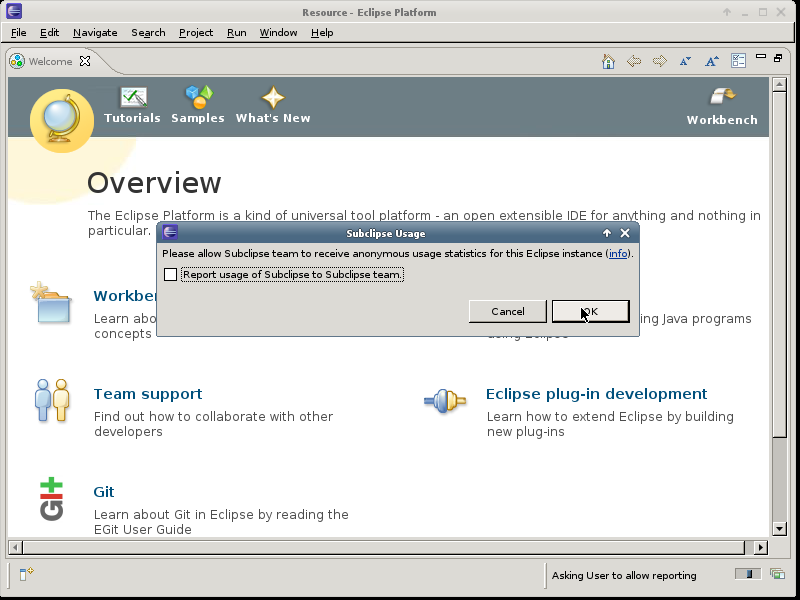
Feedback
You are asked if you want to participate in providing feedback, the choice is yours.
