Hopefully sooner than later you are ready to send your first contribution. You will need to create a Git commit and post it for review to our Gerrit installation. General information about using EGit can be found in the Eclipse EGit Wiki.
Procedure 5.7. Making changes
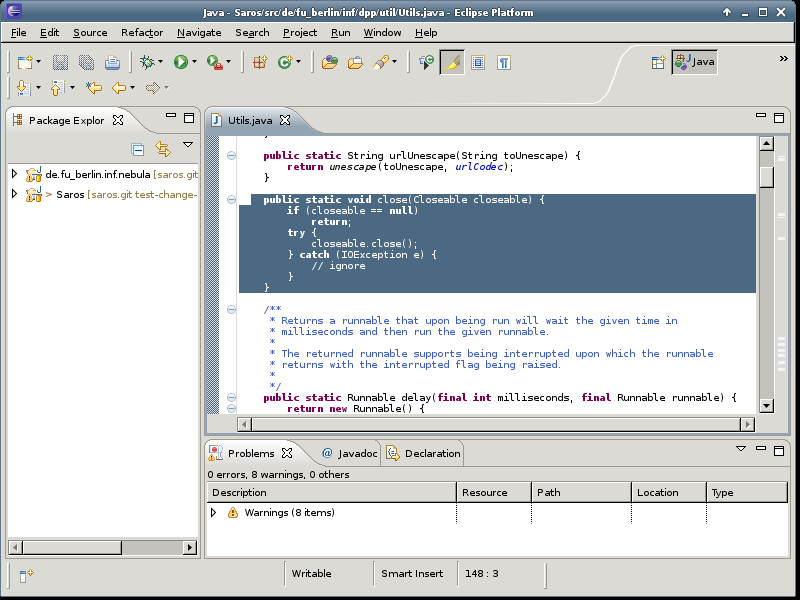
Open any file
E.g. open Utils.java file.
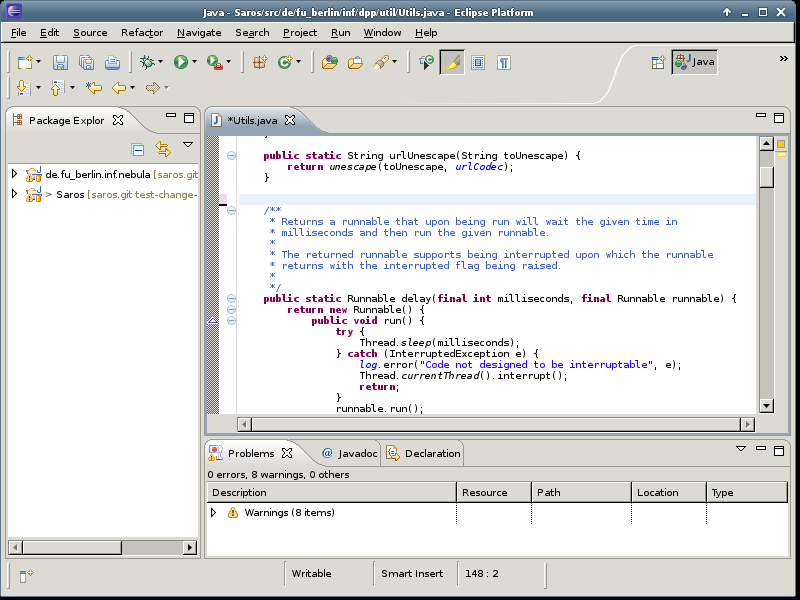
Make a modification
E.g. remove the getFreePort method.
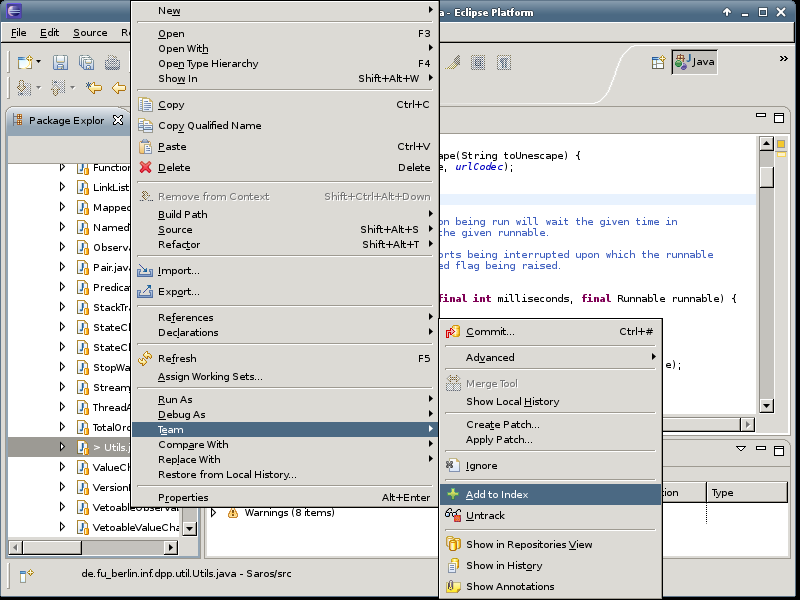
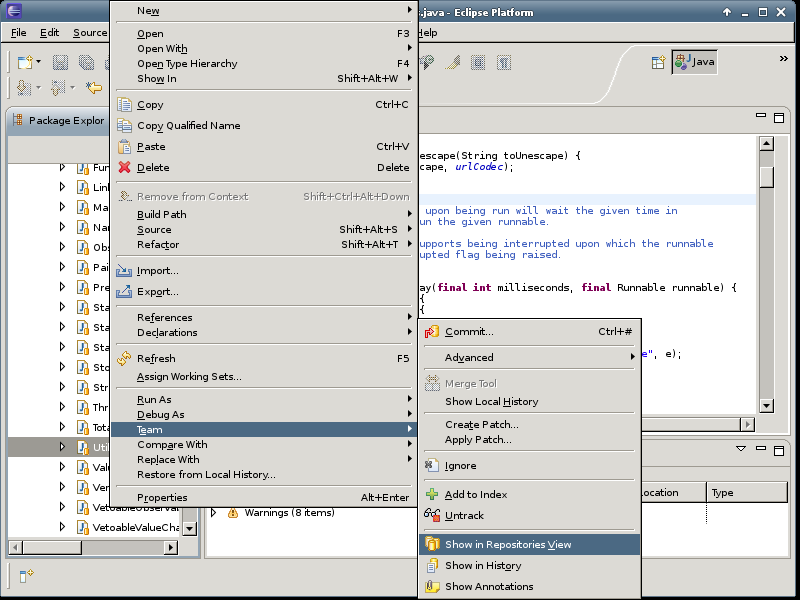
Add change to the index
Use the context menu of the file to access → This moves the change into the index and marks the new version as to be committed.
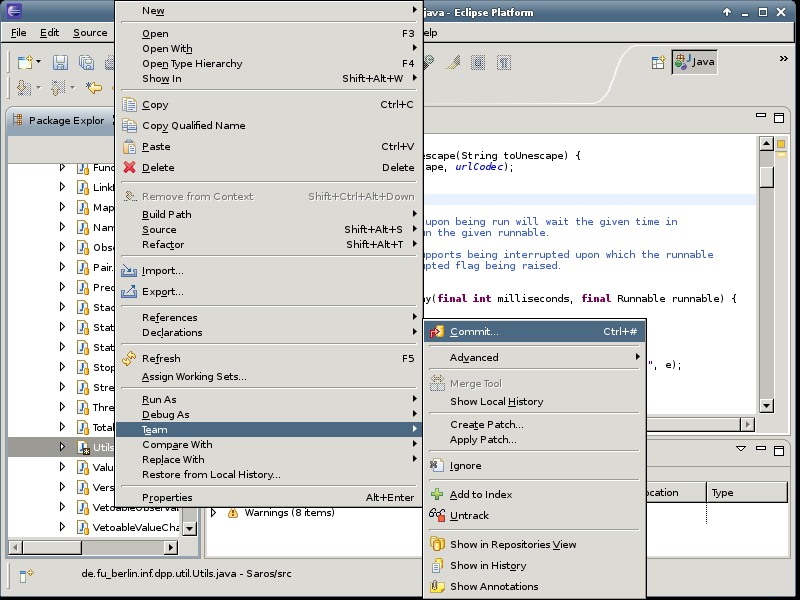
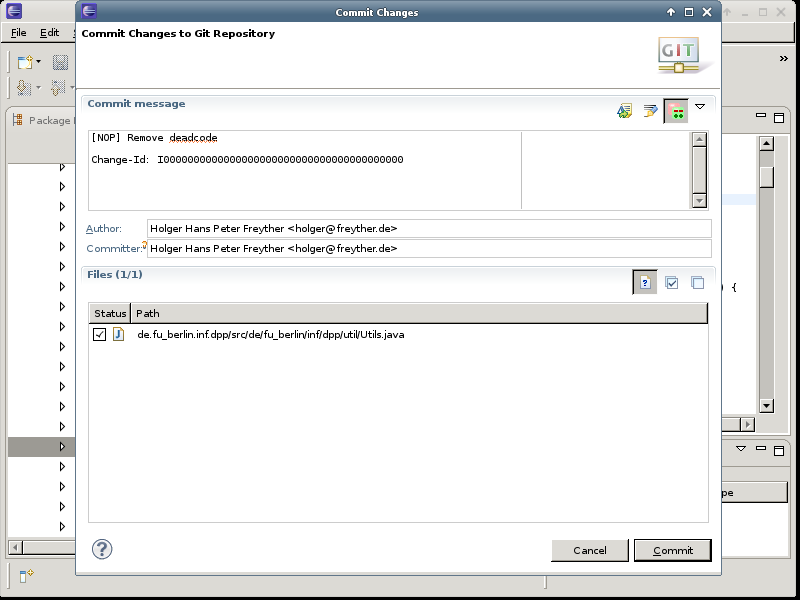
Commit
Commit all changes that are in the index.
Writing a commit message
Make sure that the Gerrit option is enabled and that a line with Change-Id is in the editor field. Follow our Commit Guidelines for writing the message.
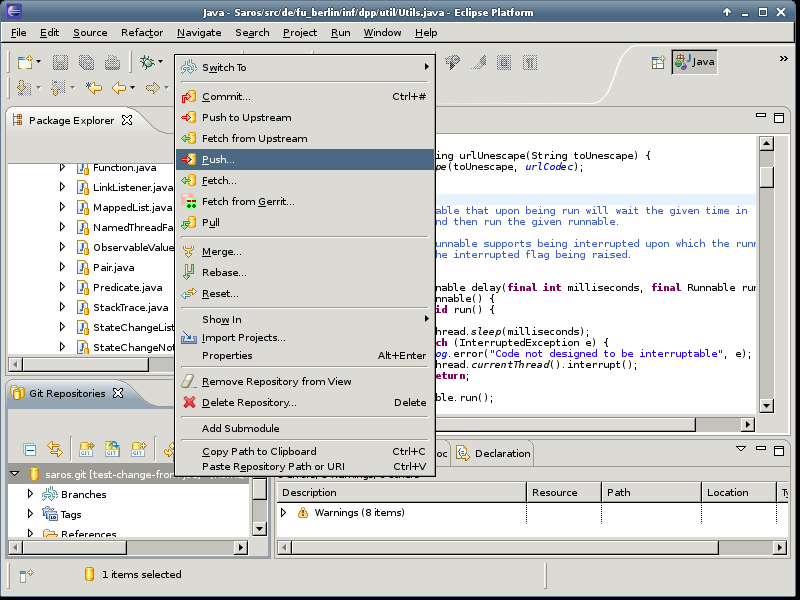
Switch to the repository view
Use the context menu and → to switch to another view to be able to push your changes.
Push
Use the context menu on the repository and select the item.
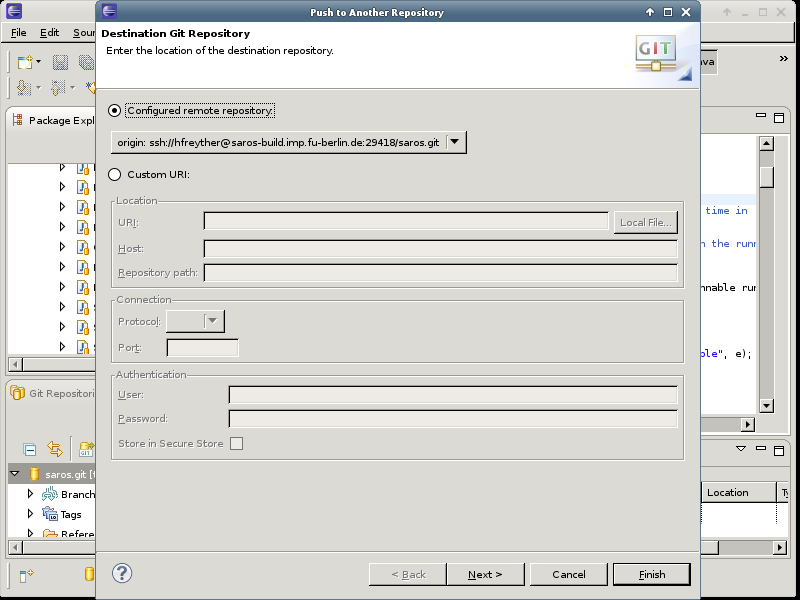
Select Target
Select the pre-configured Gerrit repository as the target for your changes and continue by pressing the button.
Select Branch
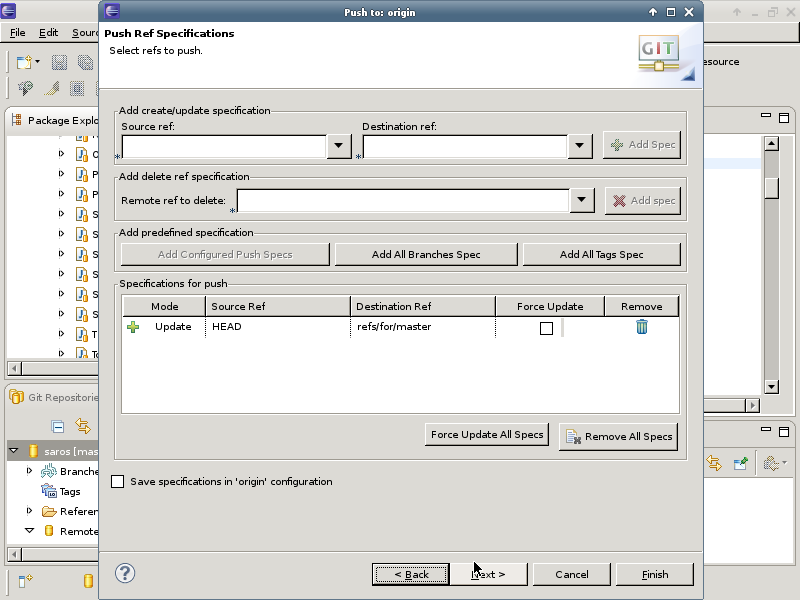
Select what and where to push things. The default Destination Ref should be refs/for/master and press to continue.
Push Confirmation
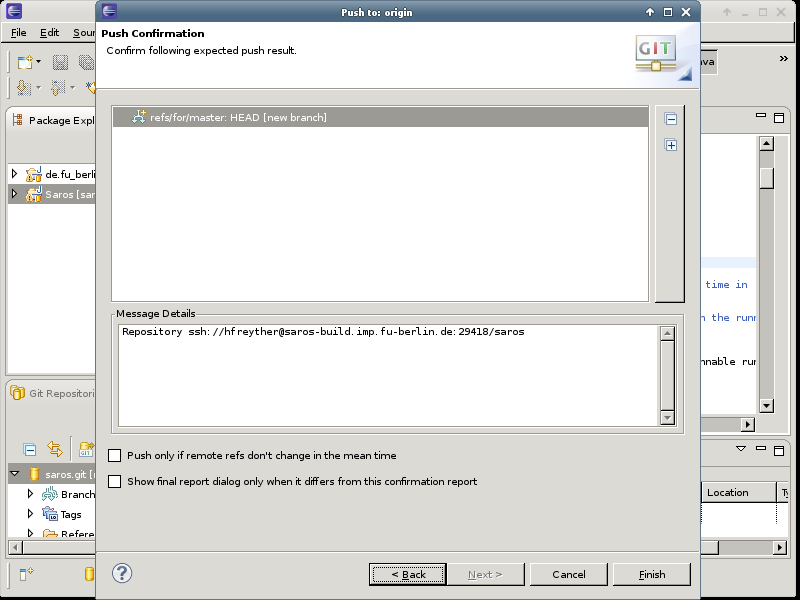
Review what and where things are pushed and .
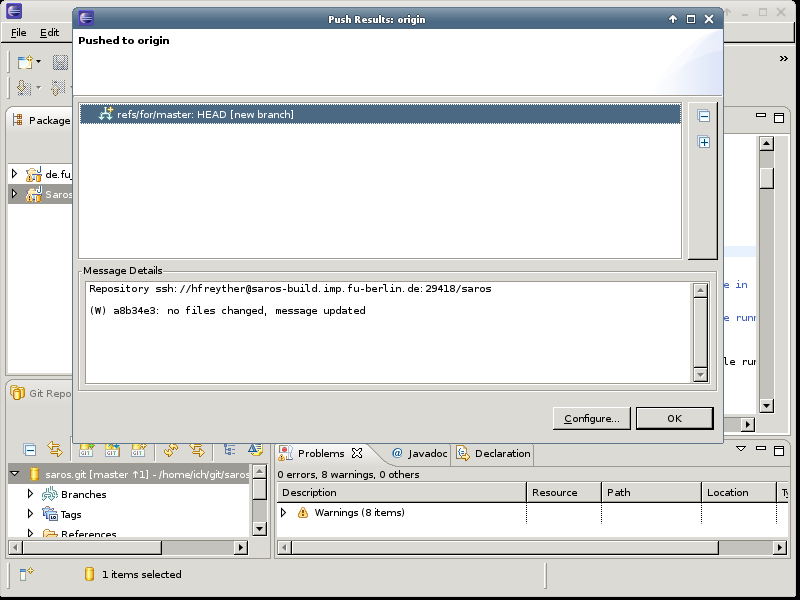
Push Result
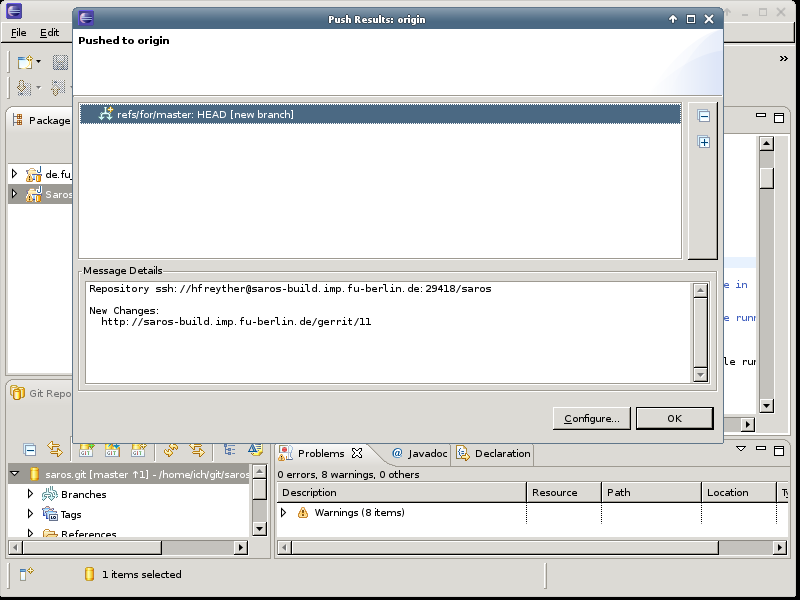
The result should include a set of change numbers of the Gerrit system.
After you pushed your changes to Gerrit, the Saros-Gerrit job will be scheduled on the Jenkins CI system. The execution of this job might fail and the most common errors are missing files, build failures due building on an older OSGI/Eclipse version or test failures because the tests are run without SWT/GUI being initialized. The below will help you to identify the reason of the failure.
In case the build has failed it can be difficult to find the error in the ant log. The easiest is to search for . ERROR in the console log of the job. An example for a build failure is Job 24, try to find the error.
Imagine you made three commits on top of each other and have pushed them to Gerrit. Now either you or a reviewer has found something that should be modified in any of the separate changes. The straightforward way is to use the built-in Gerrit support to create a new branch with these changes, make the desired modifications, amend to the old commit and push it to Gerrit again.
Procedure 5.9. Modifying a Change
Fetch from Gerrit
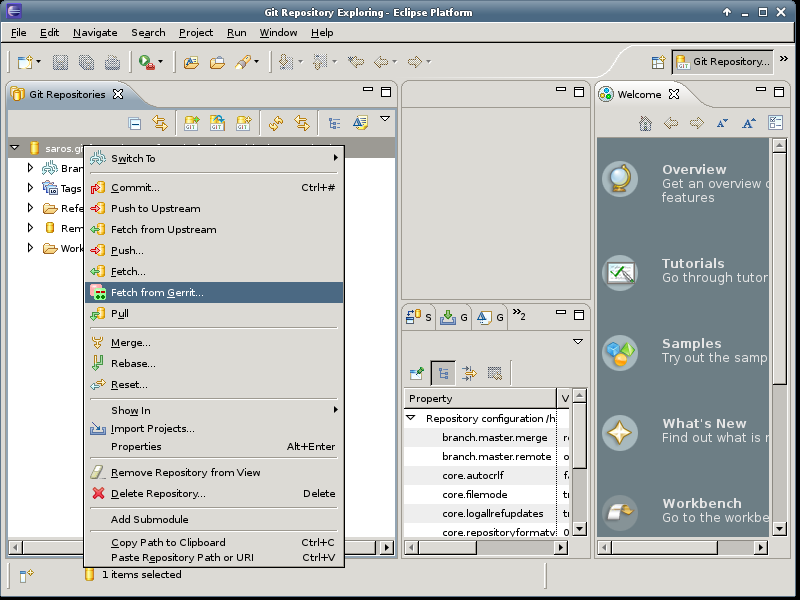
From within the Git repository view select the context menu and press
Select a Change
You will need to select a change or use Control+Space to search for changes.
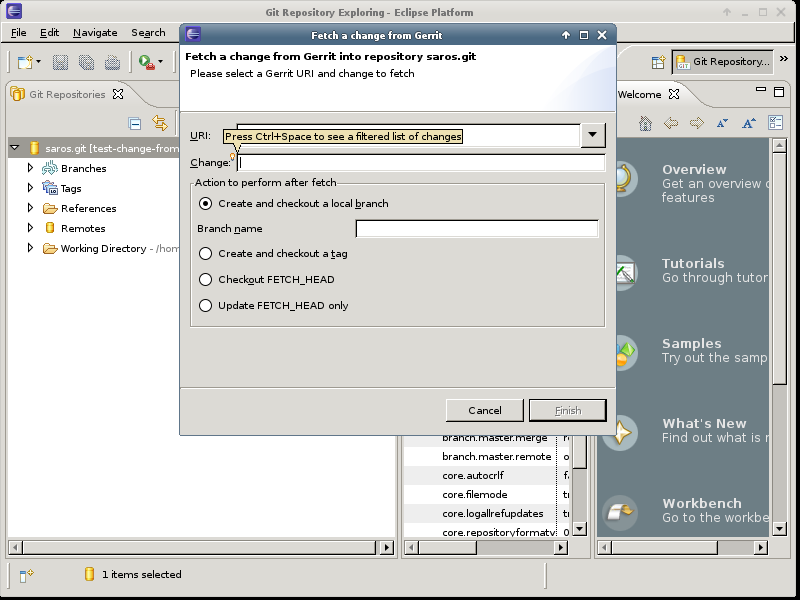
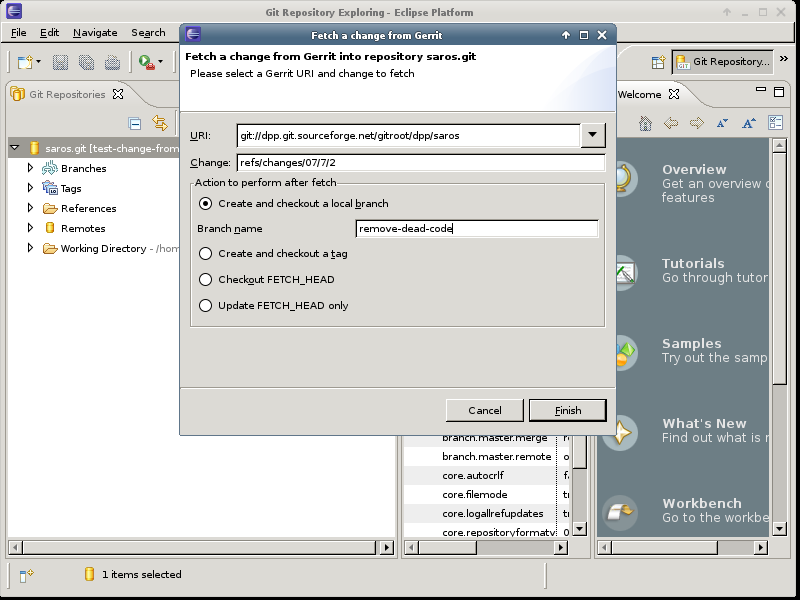
Pick a local branch name
Select a name for the local branch.
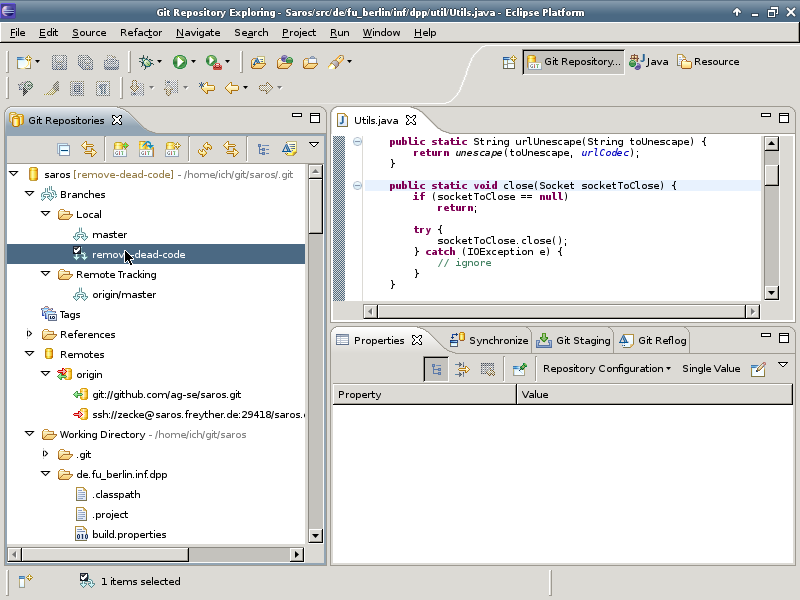
Start your modification
You are on a branch that contains your previous change. You are now able to do the desired modification.
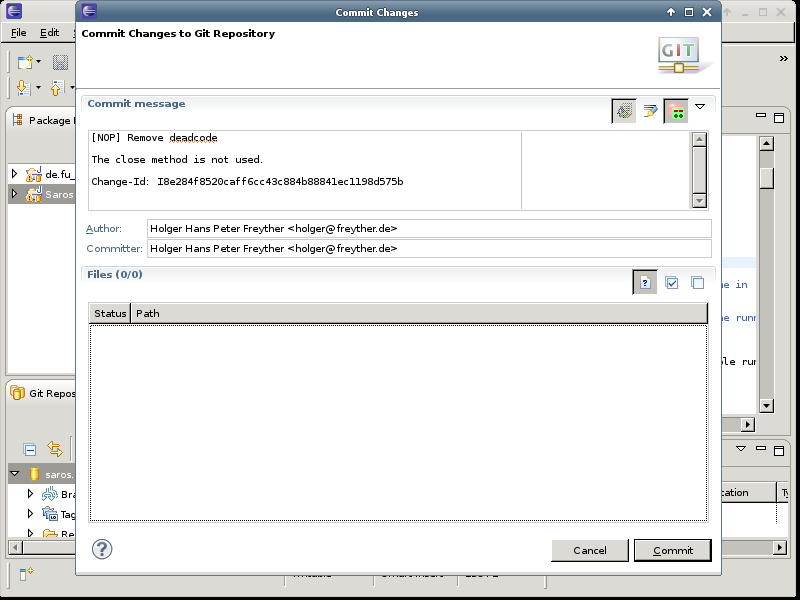
Amending your commit
Once you are done with your modification, enter the commit editor and select the button. This will combine your new and old change. The commit dialog will automatically pick the commit message from the previous commit.
Pushing your commits
If you push your current branch to Gerrit again, Gerrit will update the patches in the changes.
Deleting a branch
You can now checkout a different branch and delete the old one.
