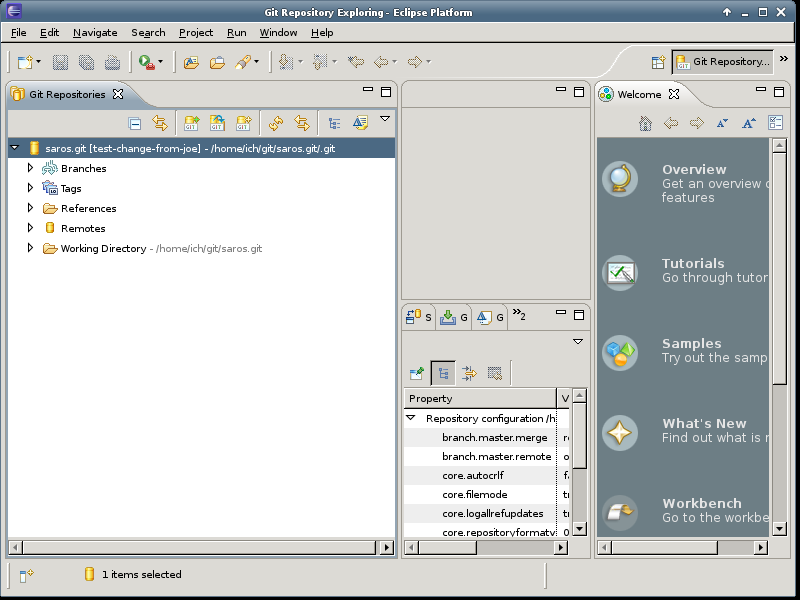
A member of your team has made some changes and uploaded them to Gerrit. You might want to test his change and the EGit plugin has support to make that very easy. The below will go through the necessary steps to fetch a change from Gerrit into a new local branch. The procedure assumes that you are in the Git Perspective.
Procedure 5.5. Downloading a change (textual)
Select
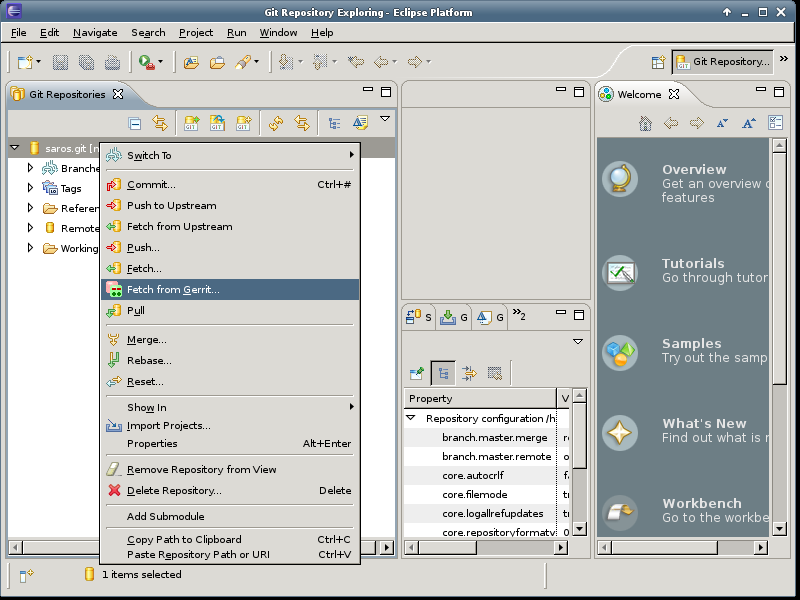
Enter the context menu on the Git Repository and select the .
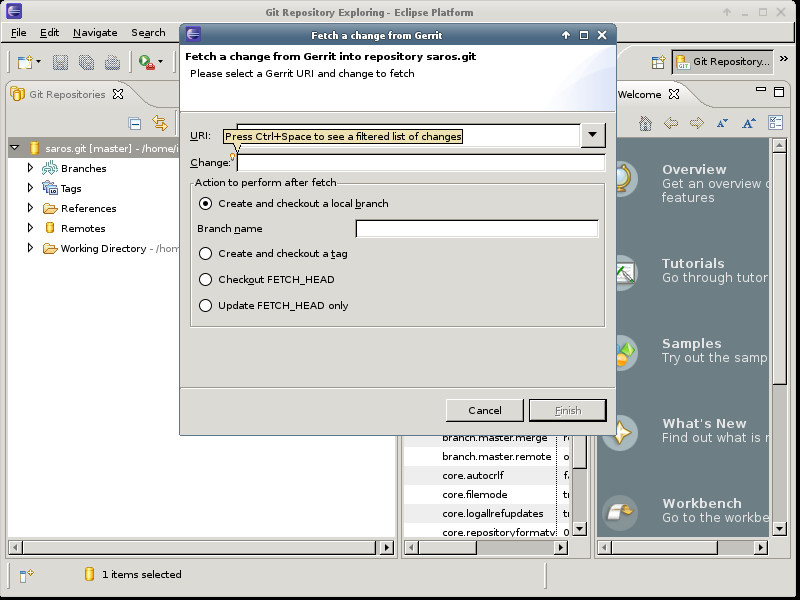
Select a change by CTRL+I
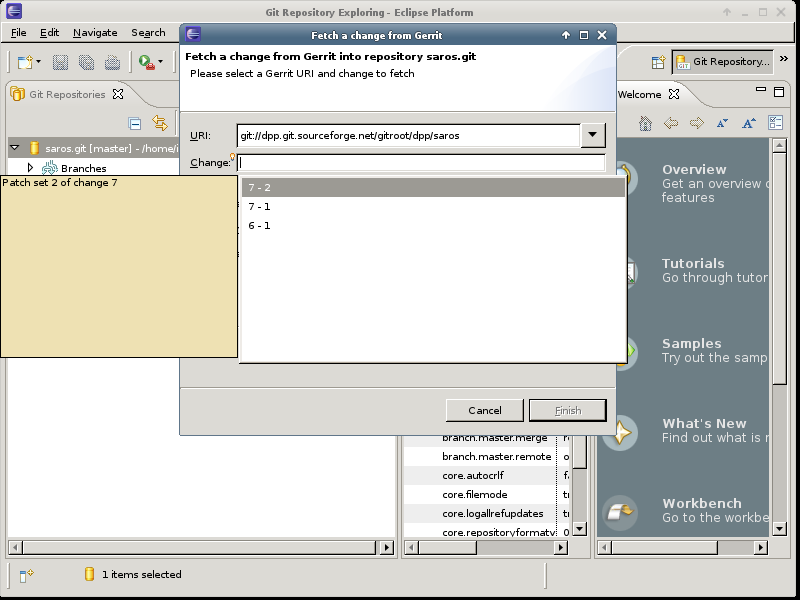
You can enter the change directly or use CTRL+I to fetch a list of available changes an select it from a dropdown menu or enter it directly.
Select a change from the dropdown
Select the change and the patchset you want. If you enter it directly use e.g. refs/changes/47/47/3, the format is to give the last two digits of the change, followed by the complete change number and then select the patchset you want.
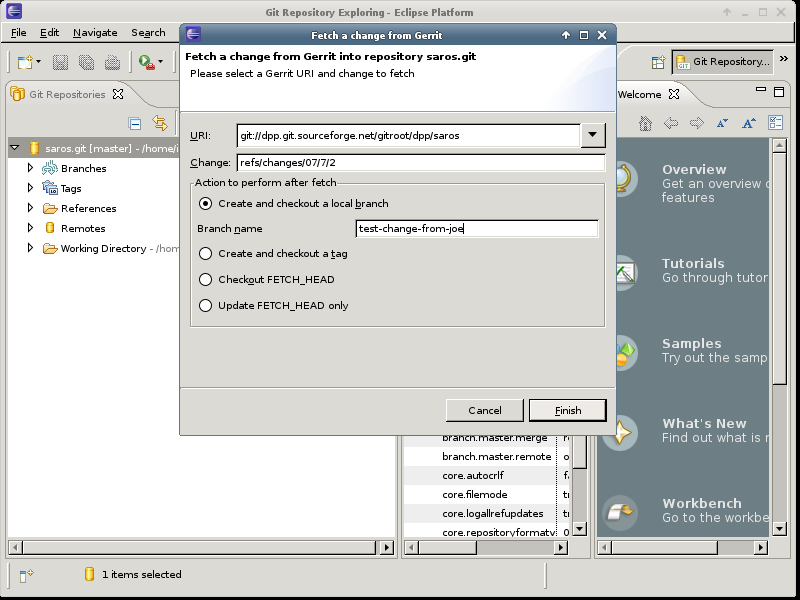
Create a local branch
Pick a local name and put it into the Branch name lineedit. This way you will have a local branch with the chosen name.
Switched to local branch
EGit will indicate that it switched to your new branch.
